Chris Vesper's Master Square
Words: Chris Vesper
Photos: Ken Payne
The foundation of squareness can in principal be obtained from a perfect cylinder with a square end sitting upright on a
flat surface. High accuracy of manufacture is needed to make a perfectly parallel cylinder along with a good finish on the bottom surface in one grinding set-up. This cylinder, sitting on a flat surface like a calibrated granite inspection table, will provide a suitable master that a manufacturer of squares such as myself should have.
Cylindrical master-squares are self-proving when rotated 180° against another square or suitable dial indicator setup. They can be accurate to measurements smaller than I can detect — sub micron probably. Checking a regular try square against one of these involves using feeler gauges and a light behind to quantify the error. There can be no guesswork — that gap needs to be known to make it a valid reading.
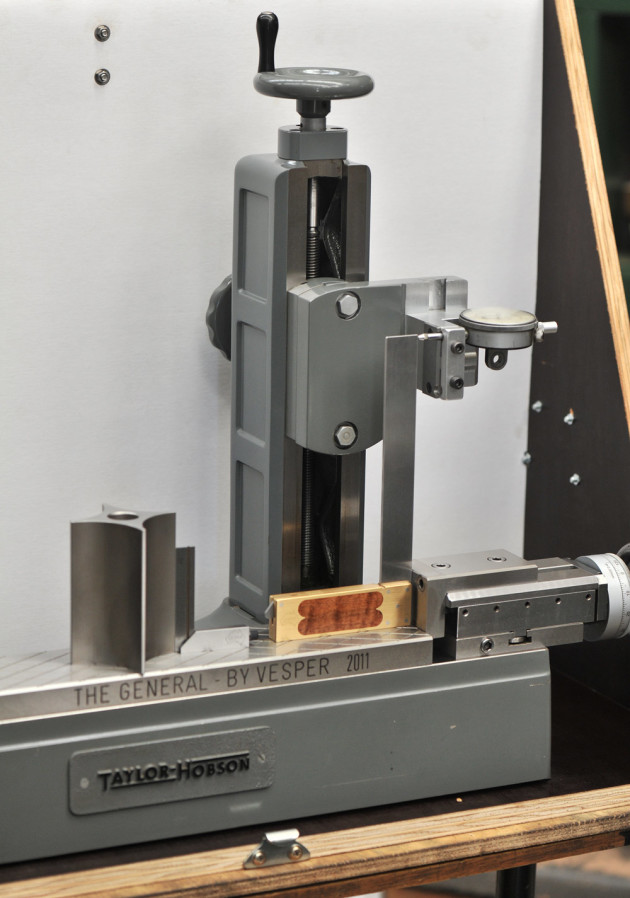
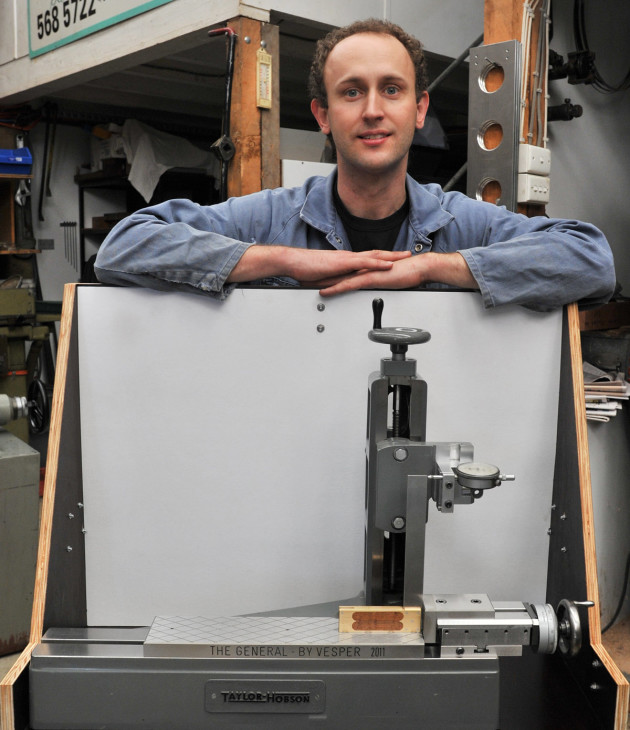
The testing rig affectionately known as ‘The General’ was made by me from a defunct and unrelated piece of metrology equipment. This jig has a vertical column ground, is hand lapped for accuracy, and calibrated to the above cylindrical master.
It also has a moveable stop and a dial gauge to obtain calibration on any size square up to 12" or so.
The General resides in its own specially made dustproof box. I put either of two dial gauges in it depending on the accuracy I am working to. One for regular work reads to 0.01mm (one hundredth), while an even more sensitive one reads to 0.001mm (one micron). They are zeroed to the moveable stop with a pocket size cylindrical master after a dial change. The 0.001mm dial gauge is reserved for only my best master squares. This set-up is so sensitive that the warmth from two fingers will distort a tall square blade more than 0.015mm in only a few seconds, sometimes more than the entire error of the square. It’s quite amazing to watch the needle move before one’s eyes.
With that distortion in mind it must be considered those sort of tolerances are realistically unnecessary for woodworking and most engineering work outside of a laboratory. However a lot of people who wish to check their other squares from a known master do find high grade squares useful, particularly for that special job.
My feeling is that a square for modern woodworking methods realistically should be within + or – 0.015mm per 25mm blade length or better. So a 200mm tall square could be out 0.12mm (about four thou over 8") and this will not really affect your woodwork on any meaningful level, especially considering wood is a hygroscopic and somewhat soft material.
Methods of woodwork have changed over the last 200 years or so. There is more call for accurate squares but there is still a place for a workshop knockabout, or even a lightweight homemade wooden square modeled on those used widely in the 18th century to produce good work.
Learn more about Chris Vesper and the hand tools he makes at www.vespertools.com.au


