Words and photos by Anthony Warfe
I would venture to guess that the only ebony most people can recall seeing would be the black keys on their grandma’s piano, though it’s also often used by luthiers for the fingerboards on stringed instruments. My local timber man informs me that ebony is rare and expensive in this country and is normally sold by the kilo. Ebony is a hard and durable timber that blunts tools quite rapidly, but it’s also very attractive and finishes well.
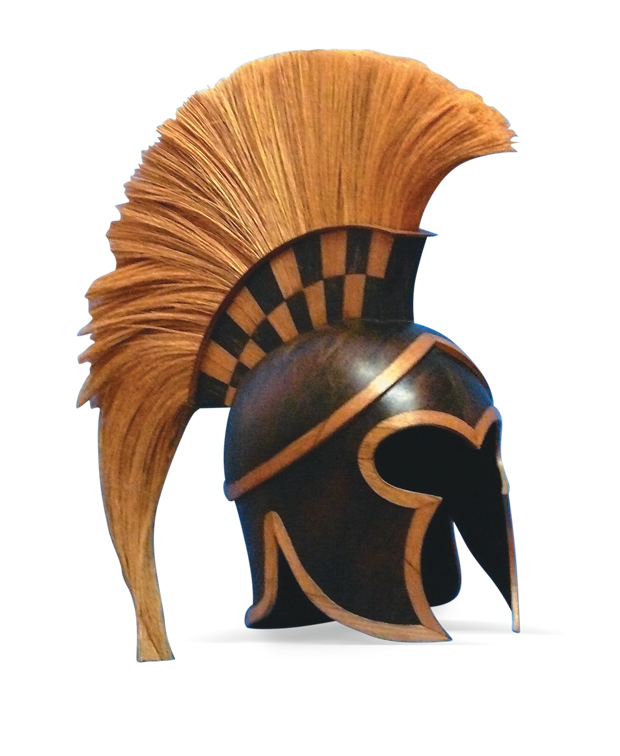
There is an easy and inexpensive way to fake it. Here you can see two of a series of ancient Greek war helmets that I have been making, mostly using Tasmanian oak (eucalypt). Some parts of the helmet have been left their original colour to match the blonde plume, but the helmet body has been ‘ebonised’ through a simple process.
Basic black
In a litre of white vinegar dissolve a large hunk of old fashioned steel wool. Supermarkets often no longer stock the stuff, but you can usually get it from hardware stores.
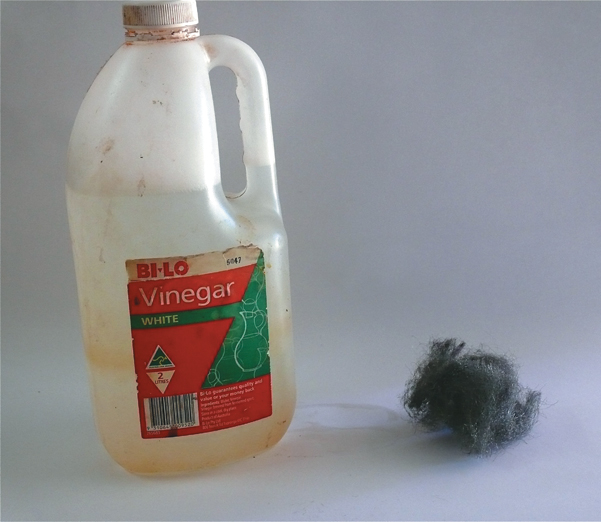
You need to use a lidded plastic container for this. You can buy these or reuse an old food container or similar. Use enough vinegar to cover the steel wool, screw the lid on and leave for a week to 10 days to allow the metal to dissolve, then strain the mixture to remove any tiny bits of undissolved metal.
Now we have a chemical that looks and smells exactly like brown vinegar. Do not sprinkle it on your fish’n’chips. Application of the mix will turn many timbers significantly darker quite rapidly depending on the tannin content in the timber—the more tannin, the darker it becomes. With some timbers (for example, beech) this solution won’t work at all, but mostly it will, especially with Tas oak species.
Below we have instant ebony – half hour after vinegar/steel solution is applied.

A blacker black
You can increase the effect quite dramatically if you make a nice strong brew of black tea.
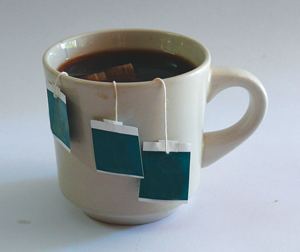
Brush the cooled tea over the surface and allow it to dry before you apply the vinegar/steel solution.
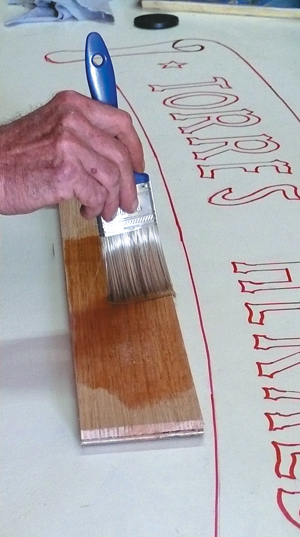
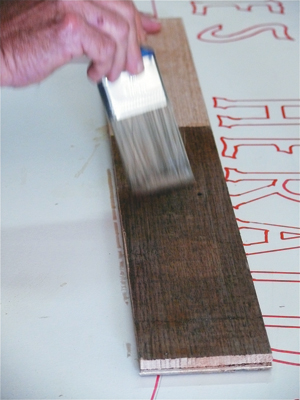
The soaked-in tea will boost the tannin content and the reaction will be much more powerful. If, as in the case of the ebonised helmet shown, you’re combining the natural wood colour with the ebonising effect you get an added advantage in that the application of the liquids will swell the grain slightly, and a light sand will remove some of the darkness to expose a little of the natural wood and this effect ties the two colours together nicely at the same time as you restore a smooth finish.
Blacker still
For the helmet shown right at the top was essential to have a jet black finish to achieve maximum contrast with the cast metal brow ridges. On a personal level it’s also important to me that people who view these pieces should immediately know they are looking at something made of wood—after all any damn fool could make a shape like this out of fibreglass. So painting the thing black wouldn’t serve, as the grain would close to the point where it would wind up looking like either fibreglass or plastic.
Of course you could use the vinegar/steel wool/tea method to aquire the right colour initially, but as previously described, subsequent sanding to get the wood back to a smooth finish will take out some of the blackness
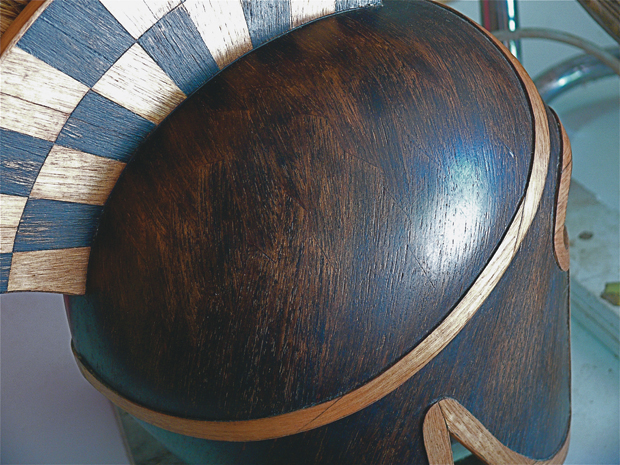
The solution is quick and simple: use India ink as for the helmet at the top. By rights I think using this stuff should also swell the wood, but for some reason it doesn’t, so when your final sanding is complete all you need to do is use a soft lint free cloth to rub the ink into the wood. I’ve only used this method on small pieces because the ink is stupidly expensive, but for small boxes and such like it’s an effective treatment for aquiring a jet finish prior to spraying varnish.
As with all finishes, it’s highly advisable to test techniques and products on samples of the wood you’re using first.
Anthony Warfe started out playing in rock bands only to become a shipwright and wood artist with a special interest in finishing. Email: siranthonywon@bigpond.com This story appeared in AWR#64.


