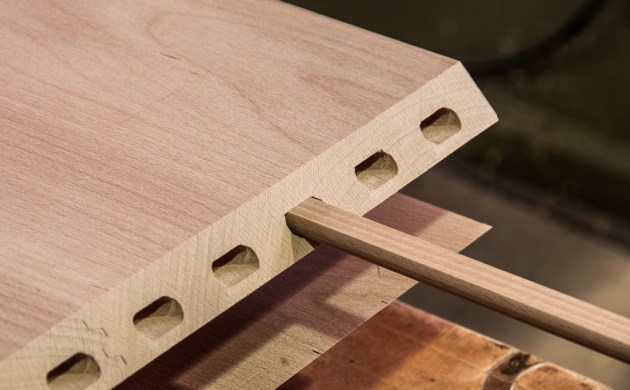
How to make right angled dominos
Words and photos: Neil Erasmus
Joints made with right-angled dominos allow maximum side-to-side grain inside a mitred carcase, giving phenomenal strength. The process of making them is straightforward.
1. Machine sufficient lengths of material to match smaller domino slots. Half the lengths will have their edges half-rounded on the router-table using a 3mm radius cutter and fence (see above). The square-edged lengths will fit into wider domino slots, still allowing some wiggle room.

2. Now set the tablesaw to cut finger joints. I replace a standard 3.2mm blade with a narrow kerf 1.7mm one. The former will work well, but the narrower blade will give more gluing surface as there are more fingers.
A special, L-sectioned jig (shown above) is fixed to the sliding part of the machine with the blade cutting through the middle of it. The blade height relative to the top face of the jig is adjusted so it cuts just shy of the full thickness of the wood (6mm). A piece of wood – I call it the key – is thicknessed to match the sawblade kerf and fitted to one side of the slot by the same amount.
With this set-up, make the first cut on the round-ended part by placing the end of one length against the key, then slide it over the key fixed to the jig to make successive cuts.
The first cut on the wider, square-edged piece is made by placing it against a separate 1.7mm spacer that is up against the 1.7mm fixed key. This provides a negative space on that edge to accommodate the first tongue produced on the round section. Proceed as before, then cut both parts to the same length – about 1mm shorter than the depth of the mortise.

3. Showing how the parts interlock.

4. I tested one of these 90° dominos to destruction in a metalwork vice and was truly surprised at the pressure required to fracture it.
First published in Australian Wood Review #87. Neil Erasmus is a Perth-based furniture designer/maker who also teaches woodwork.


